

My Reports
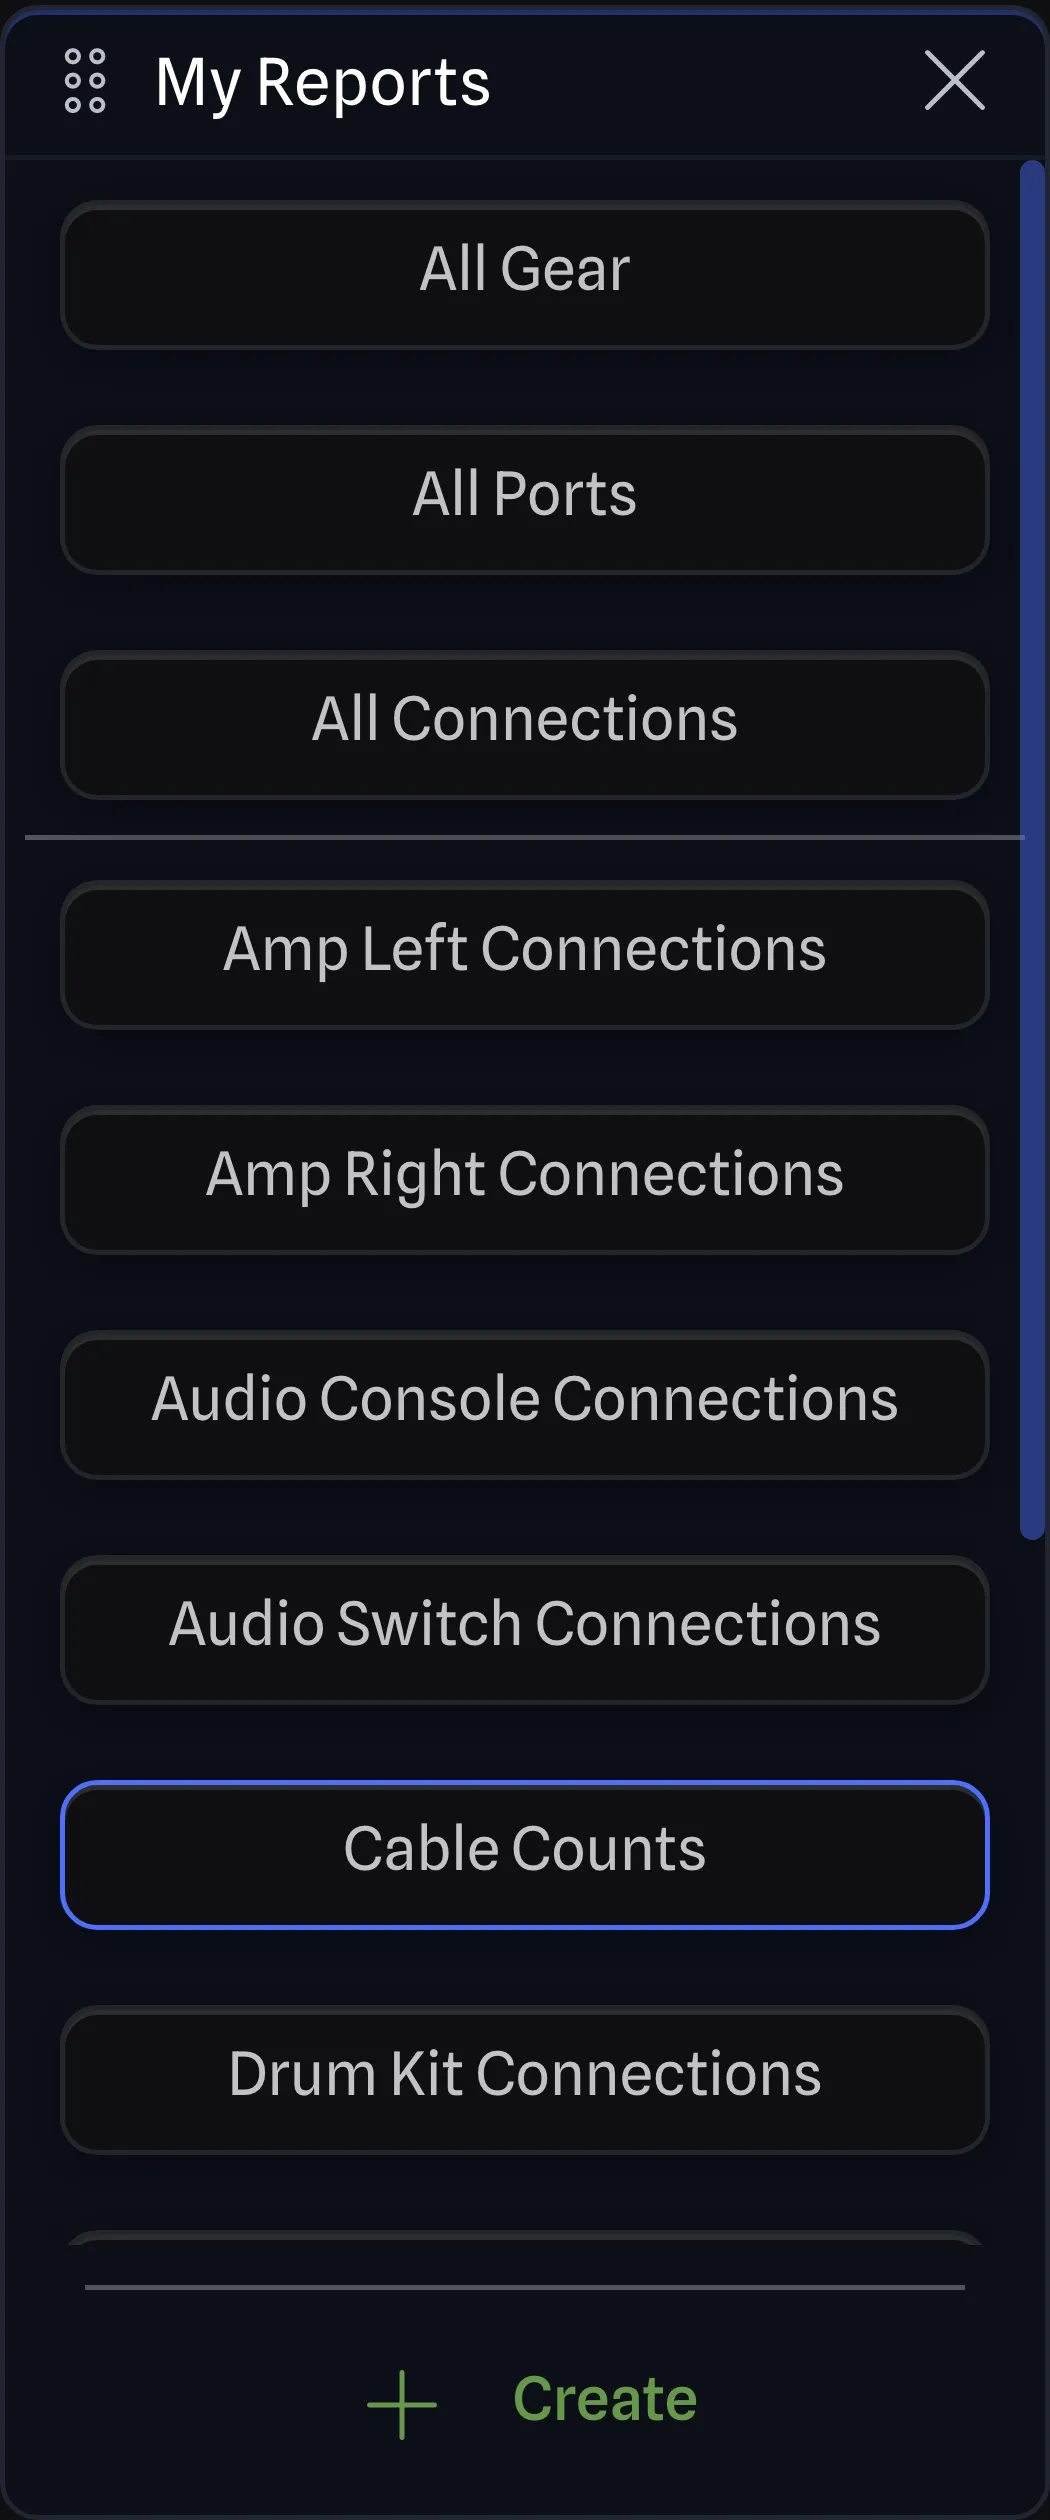
The My Reports Pane displays all the reports in the project, both stock reports and your custom reports (Pro feature). Each report has its own card, and the report you are viewing is outlined in colour.
Stock Reports
Section titled “Stock Reports”Above the divider, every user has three stock reports that are always available:
- All Gear: All gear in the project, grouped by gear category.
- All Ports: All ports in the project, grouped by gear items.
- All Connections: All connections in the project, grouped by gear items.
These reports are editable, but not saveable. You can modify them to suit your needs, but they will revert to their original state when you close the project. To keep your changes, you can click on the Save Report As button in the toolbar to save a copy of the report as your own custom report (Pro feature).
Custom Reports (Pro feature)
Section titled “Custom Reports ”Below the divider, all the custom reports that you have created are displayed. You can create a new custom report in two ways:
- From an existing report: Save a copy of the report you are viewing, with your modifications. Click the save button at the end of the toolbar and choose Save As. The button shows Save Report As on a stock report, and Report Not Saved or Report Saved on a custom report. File > Save Report As does the same.
- From templates: Click on the Create button in the My Reports Pane to open the Create Report Dialog and choose from various pre-configured templates.
Creating Reports from Templates
Section titled “Creating Reports from Templates”Create Report Dialog
In addition to using Save As on an existing report, new reports can also be created using the Create Report Dialog, which provides several templates to jump-start your report creation. These reports all act as starting templates for you to further customize as desired.
Please note that some templates have special filtering applied, preventing all project data from being displayed outside of their intended purpose. They will be indicated in the descriptions below.
Access this dialog by clicking the Create button in the My Reports Pane or from File > New Report from the menu bar.
You may start from one of the following templates:
Generic Reports
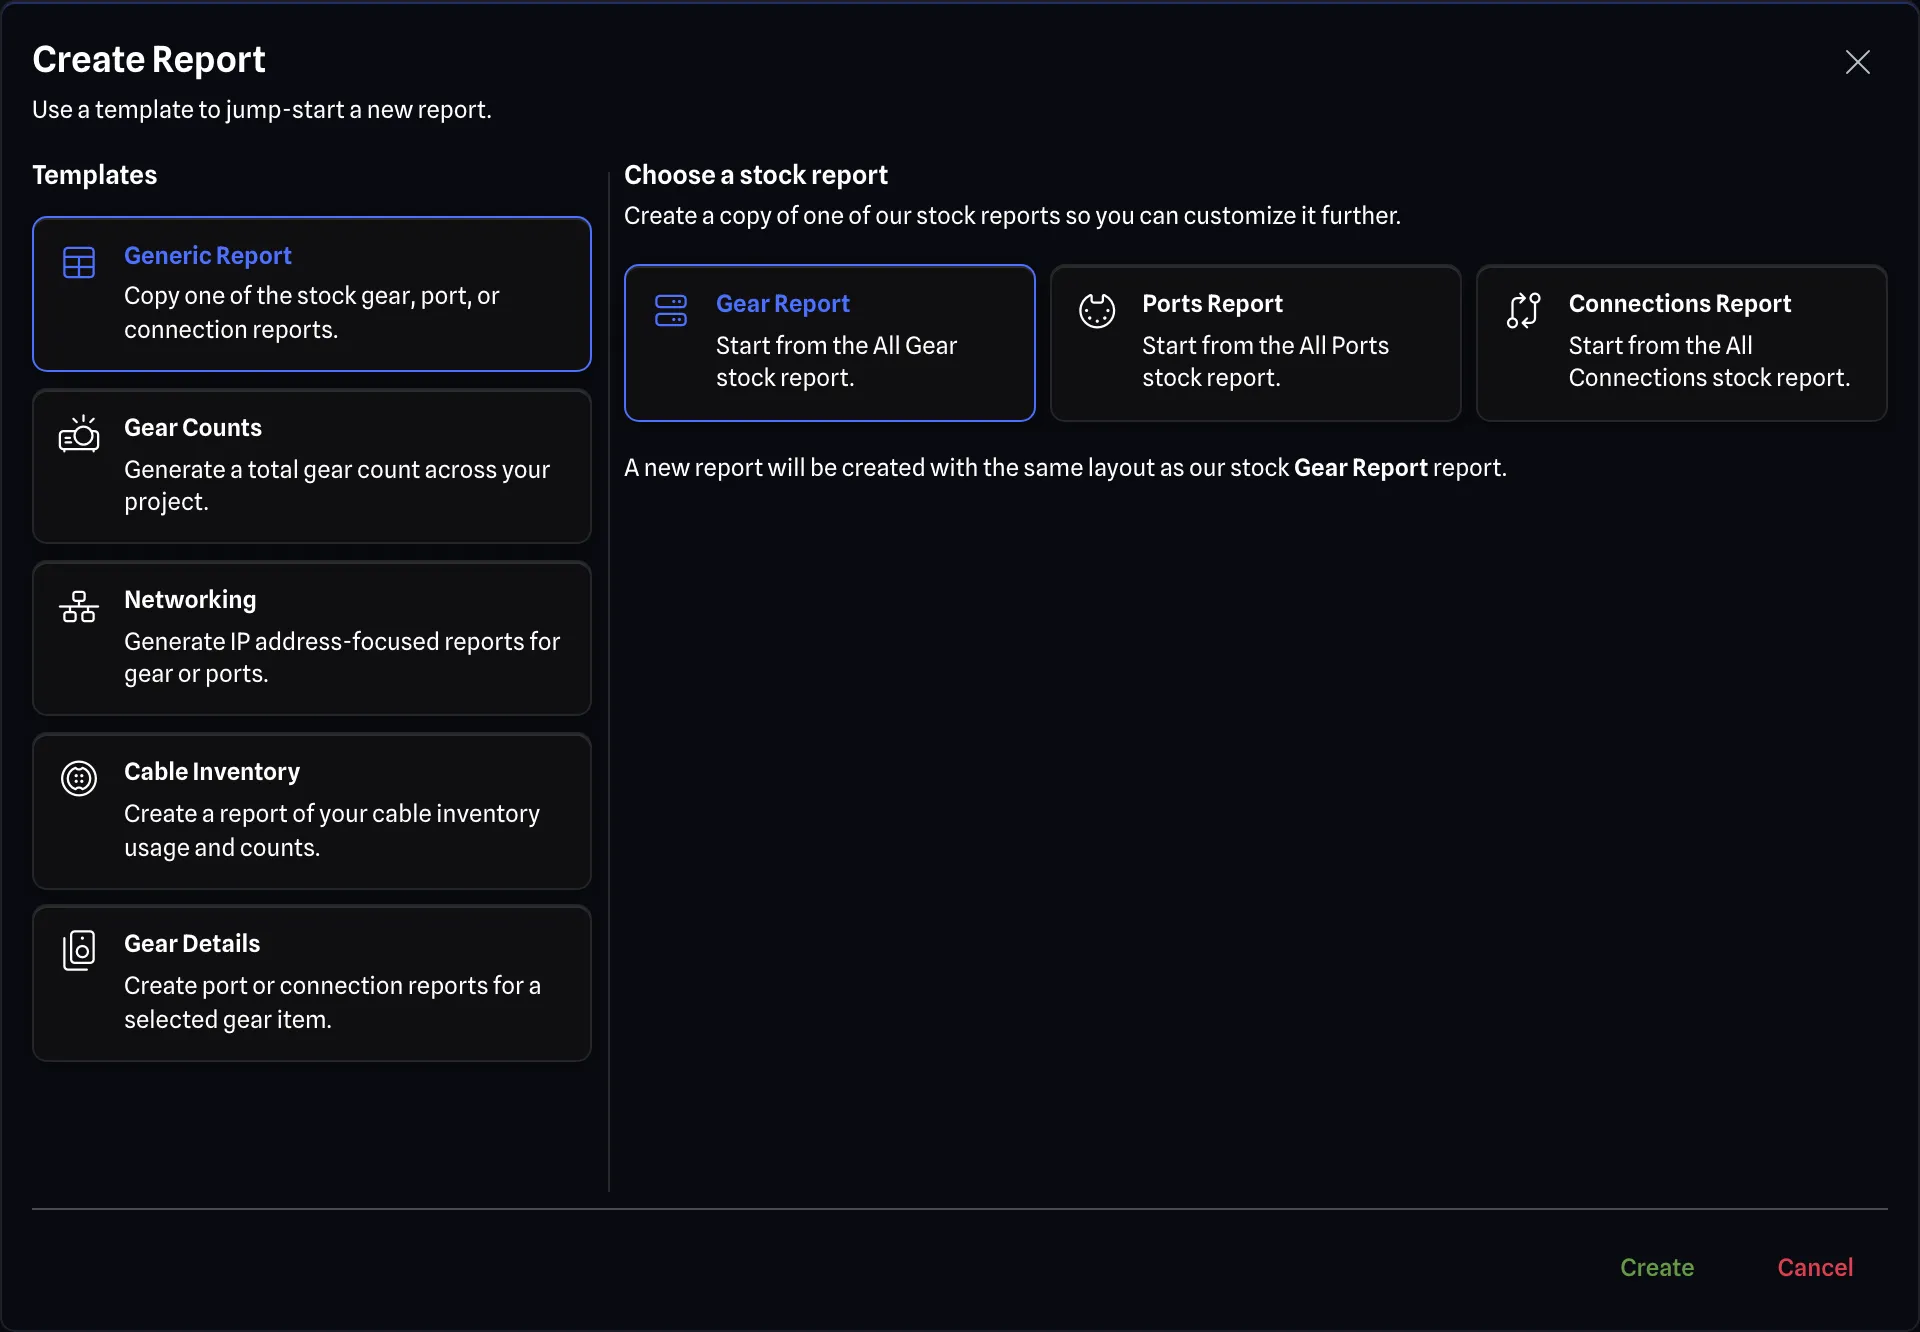
Copy one of the stock gear, port, or connection reports as a starting point for your custom report. These are based off our stock reports, and is a good starting point for most custom reports.
Available Options:
- All Gear: Start from the All Gear stock report.
- All Ports: Start from the All Ports stock report.
- All Connections: Start from the All Connections stock report.
Gear Counts Reports
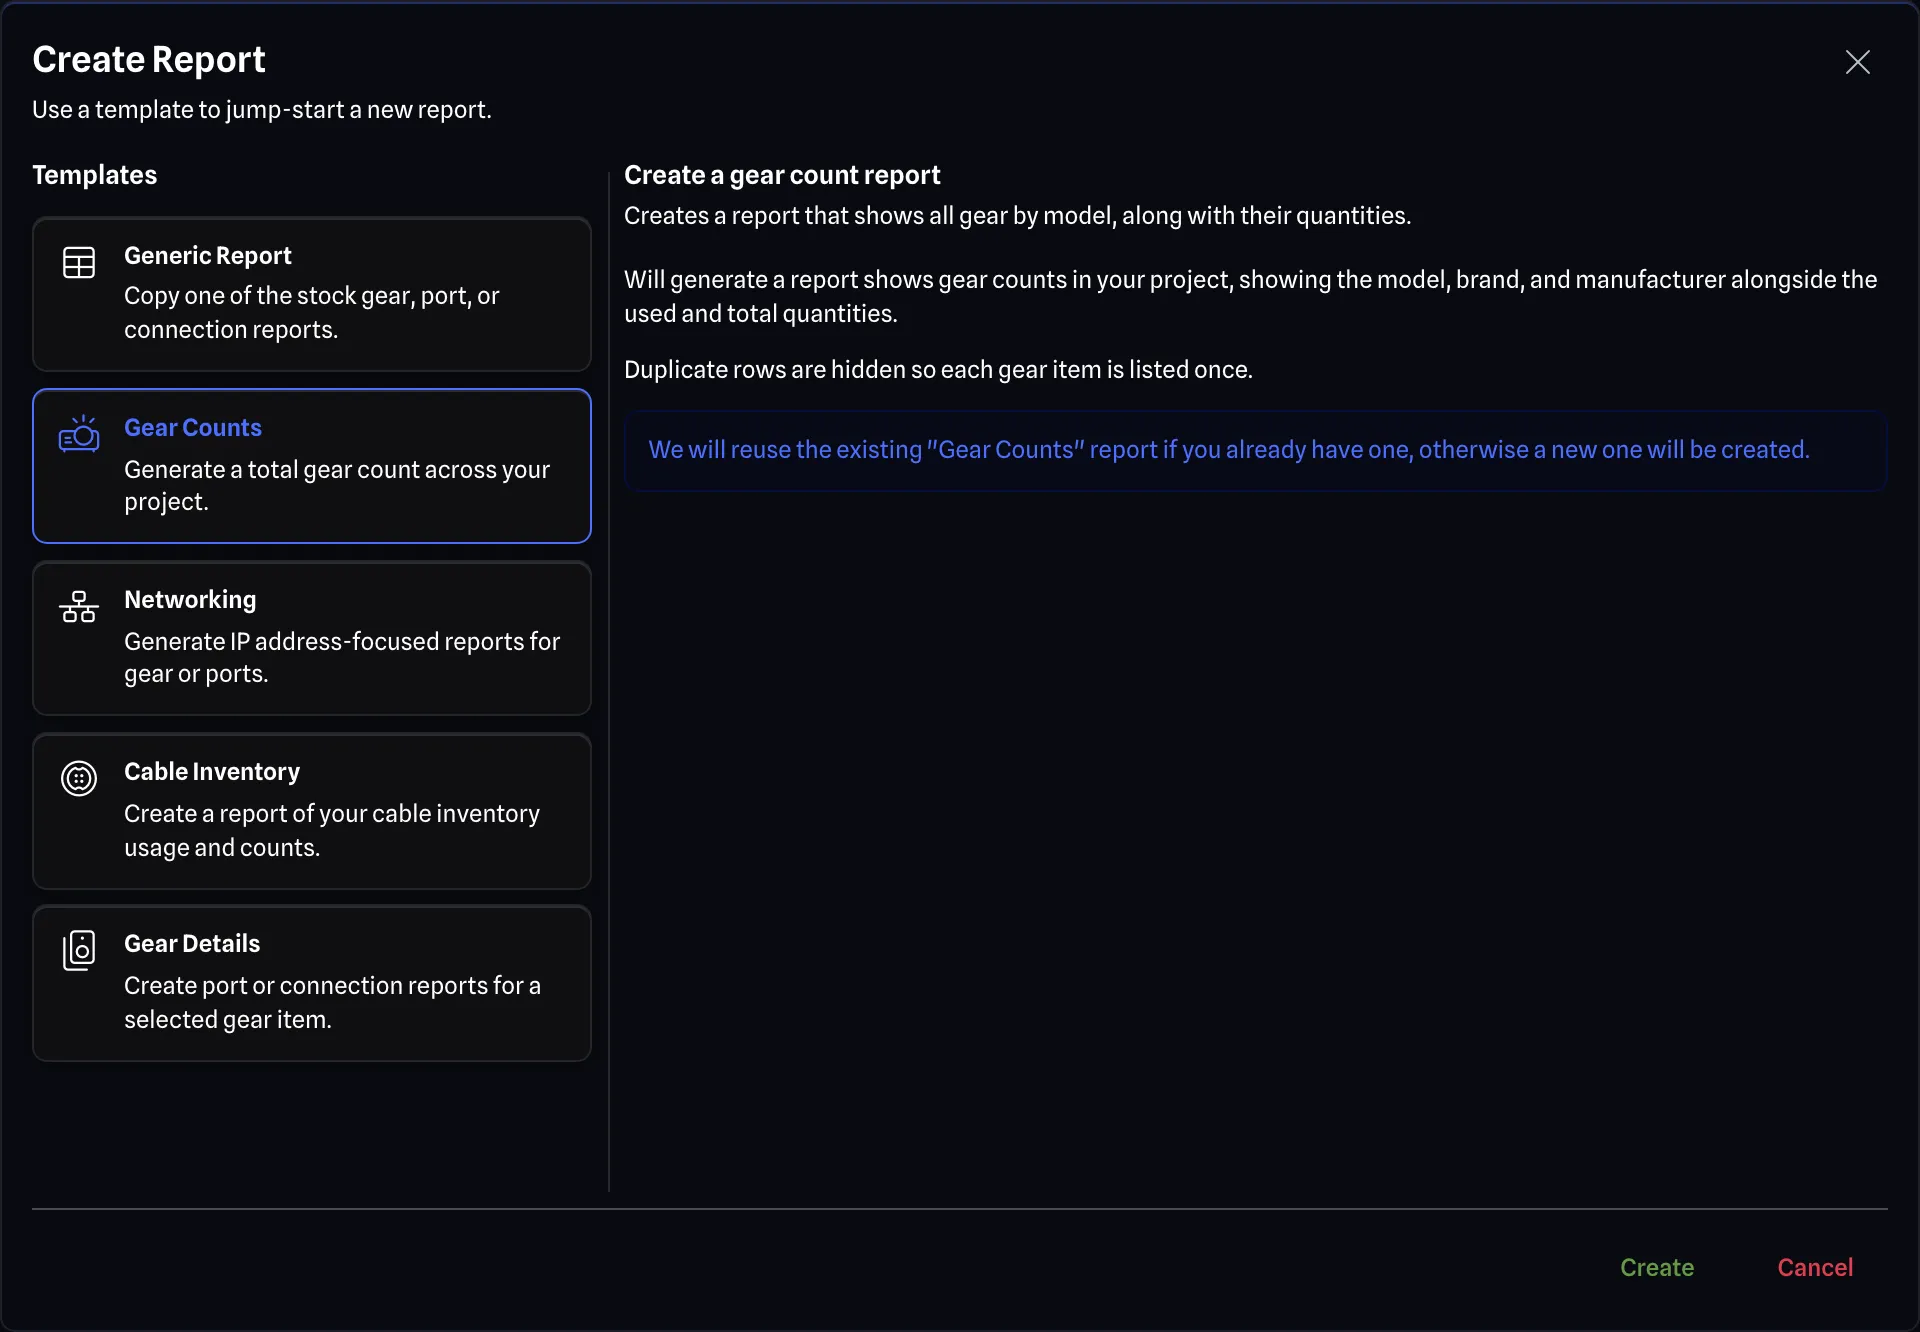
Count how much of each gear item your project has. The report lists every gear item once, with the quantity used in the drawing alongside the quantity held in the project, whether that gear is placed on the drawing or not.
Available Options:
- Gear Counts BETA APP : Generate a gear report that counts each gear item:
- Default columns: Model, Manufacturer, Brand, Used Quantity, Total Quantity.
- Default grouping: Category.
- Default sorting: Model.
- Unique rows only: Yes.
Networking Reports
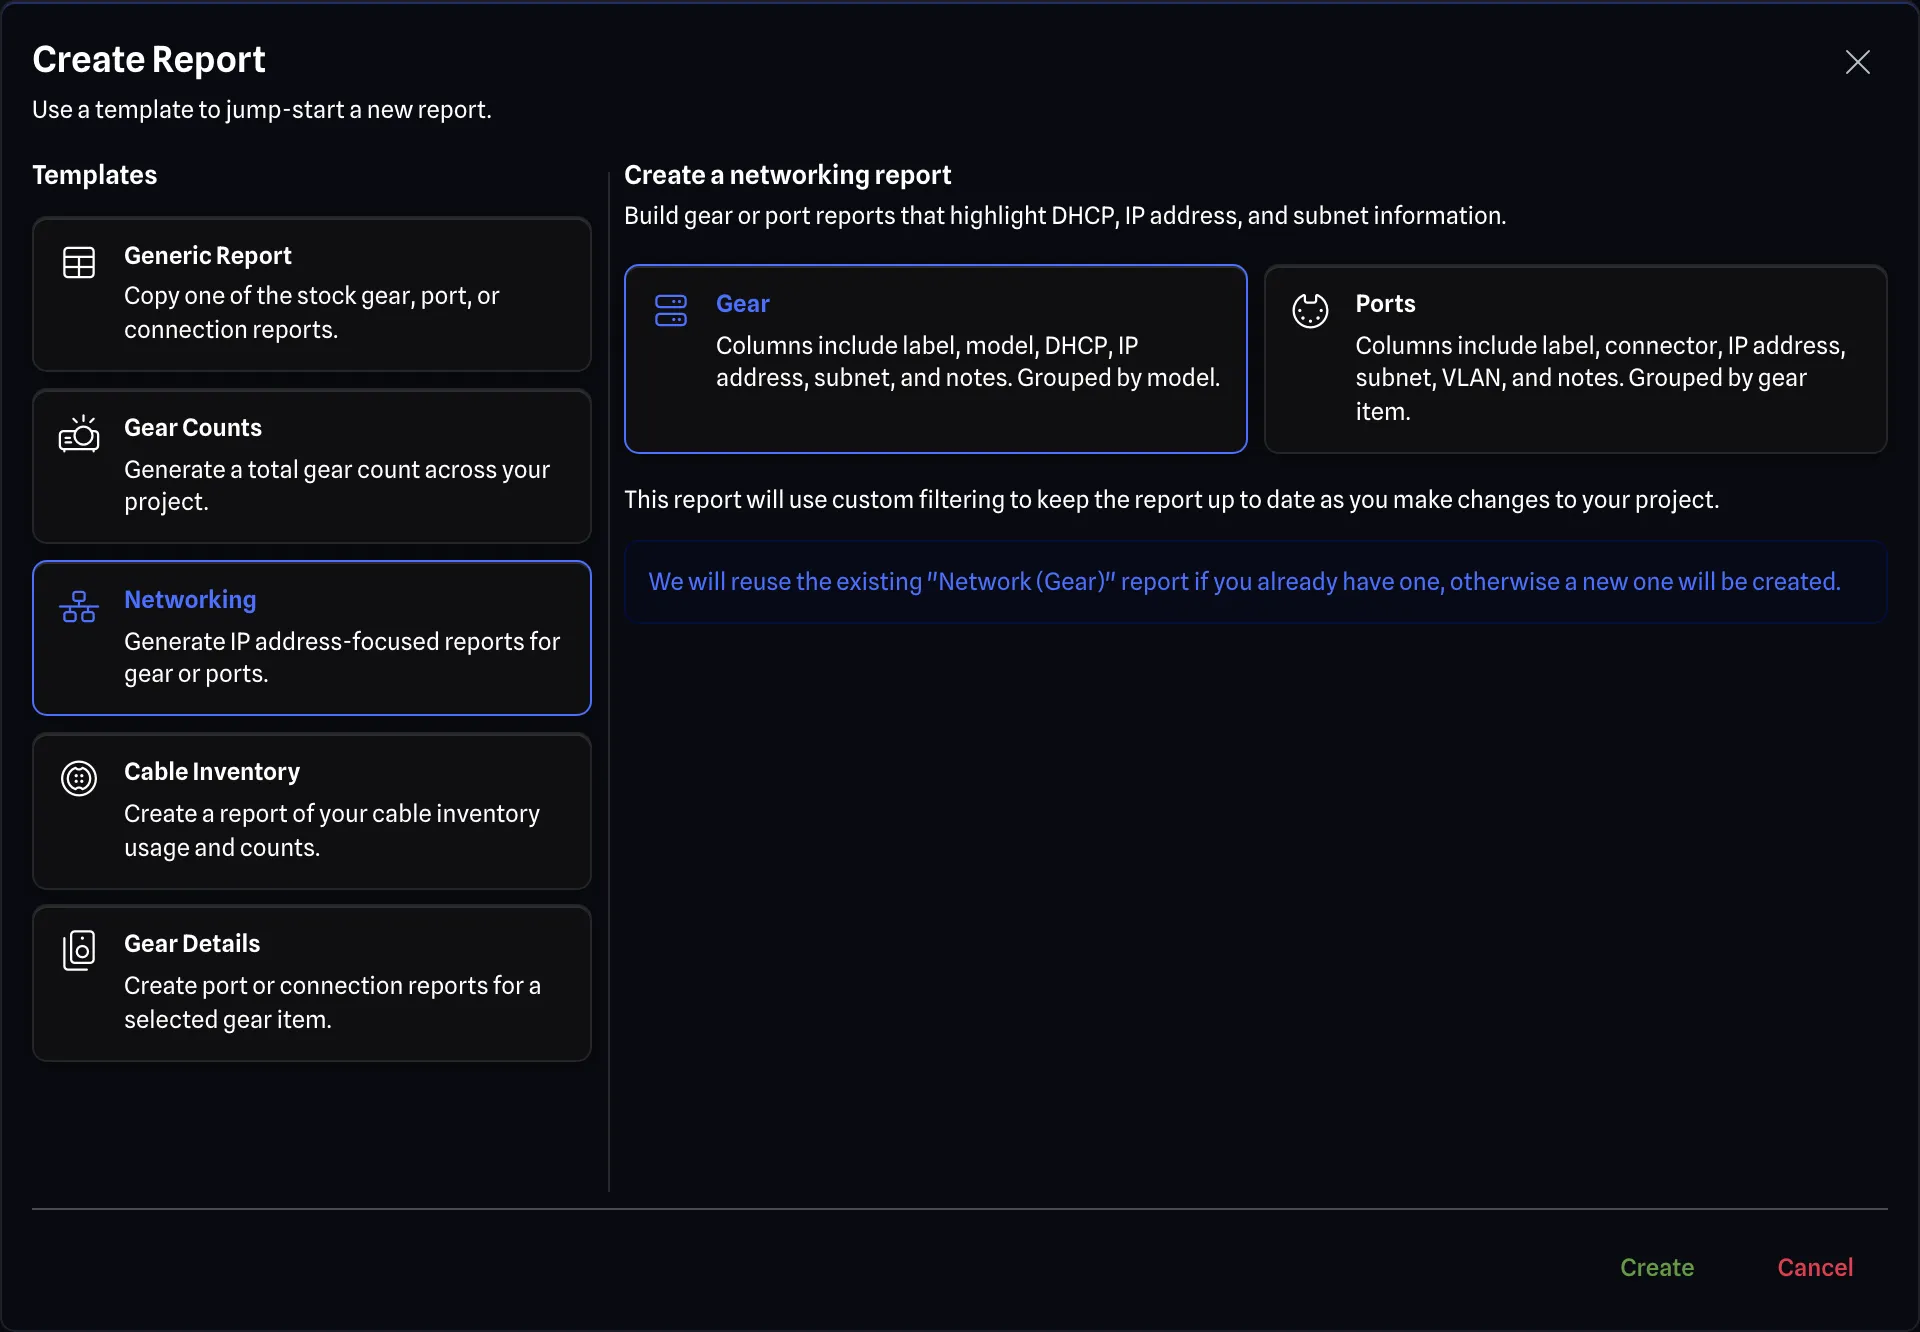
Generate IP address-focused reports for gear or ports with specialized networking columns. Not only does this help jump-start your network report creation, this template will dynamically stay up-to-date as you add or modify IP address information in your project.
These reports are great to quickly see all IP address information in your project at a glance.
Available Options:
- Network (Gear): Build gear reports that highlight networking information:
- Default columns: Label, Model, DHCP, IP Address, Subnet, Notes.
- Default grouping: Model.
- Default sorting: Label.
- Unique rows only: No.
- Network (Ports): Build port reports that highlight networking details:
- Default columns: Gear Item, Number, Label, Connector, DHCP, IP Address, Subnet, VLAN, Notes.
- Default grouping: Gear Item.
- Default sorting: Number.
- Unique rows only: No.
Cable Inventory Reports
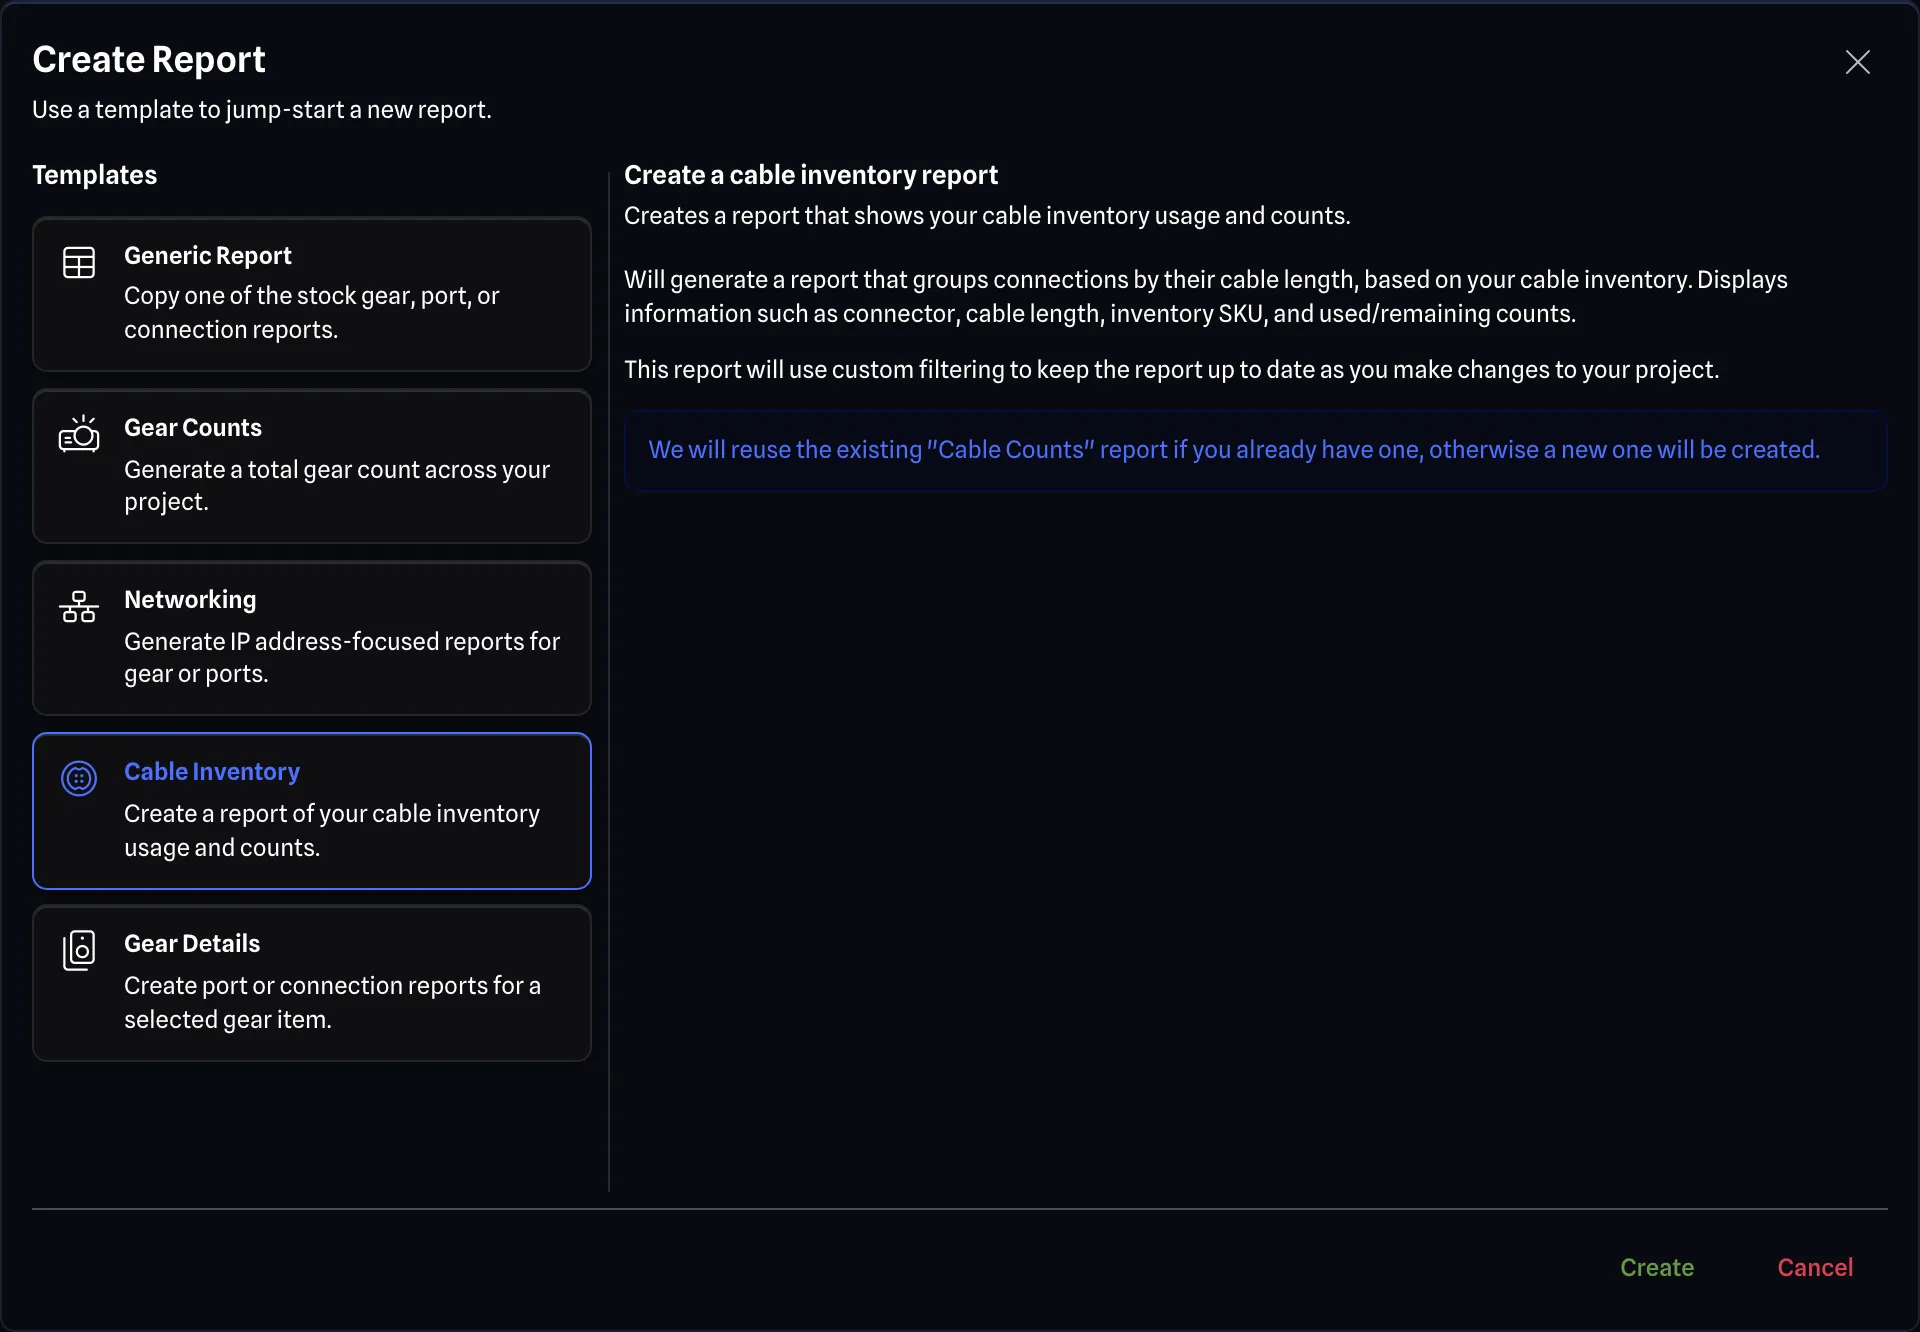
Create reports focused on cable usage and inventory management. This is useful for projects that utilize the Cable Inventory Manager to track cable stock and usage, so you can quickly see how many cables are used and how many remain in stock.
This template will dynamically stay up-to-date as you add or modify cable inventory information in your project.
You may also generate these reports by clicking on the Cable Count Report button in the Cable Inventory Manager.
Available Options:
- Cable Inventory: Generate reports showing cable inventory usage and counts:
- Default columns: Connector, Cable, Cable Length, Cable Unit, Cable Inventory SKU, Cables Used, Cables Remaining.
- Default grouping: Cable Length.
- Default sorting: Cable Length.
- Unique rows only: Yes.
Gear Details Reports
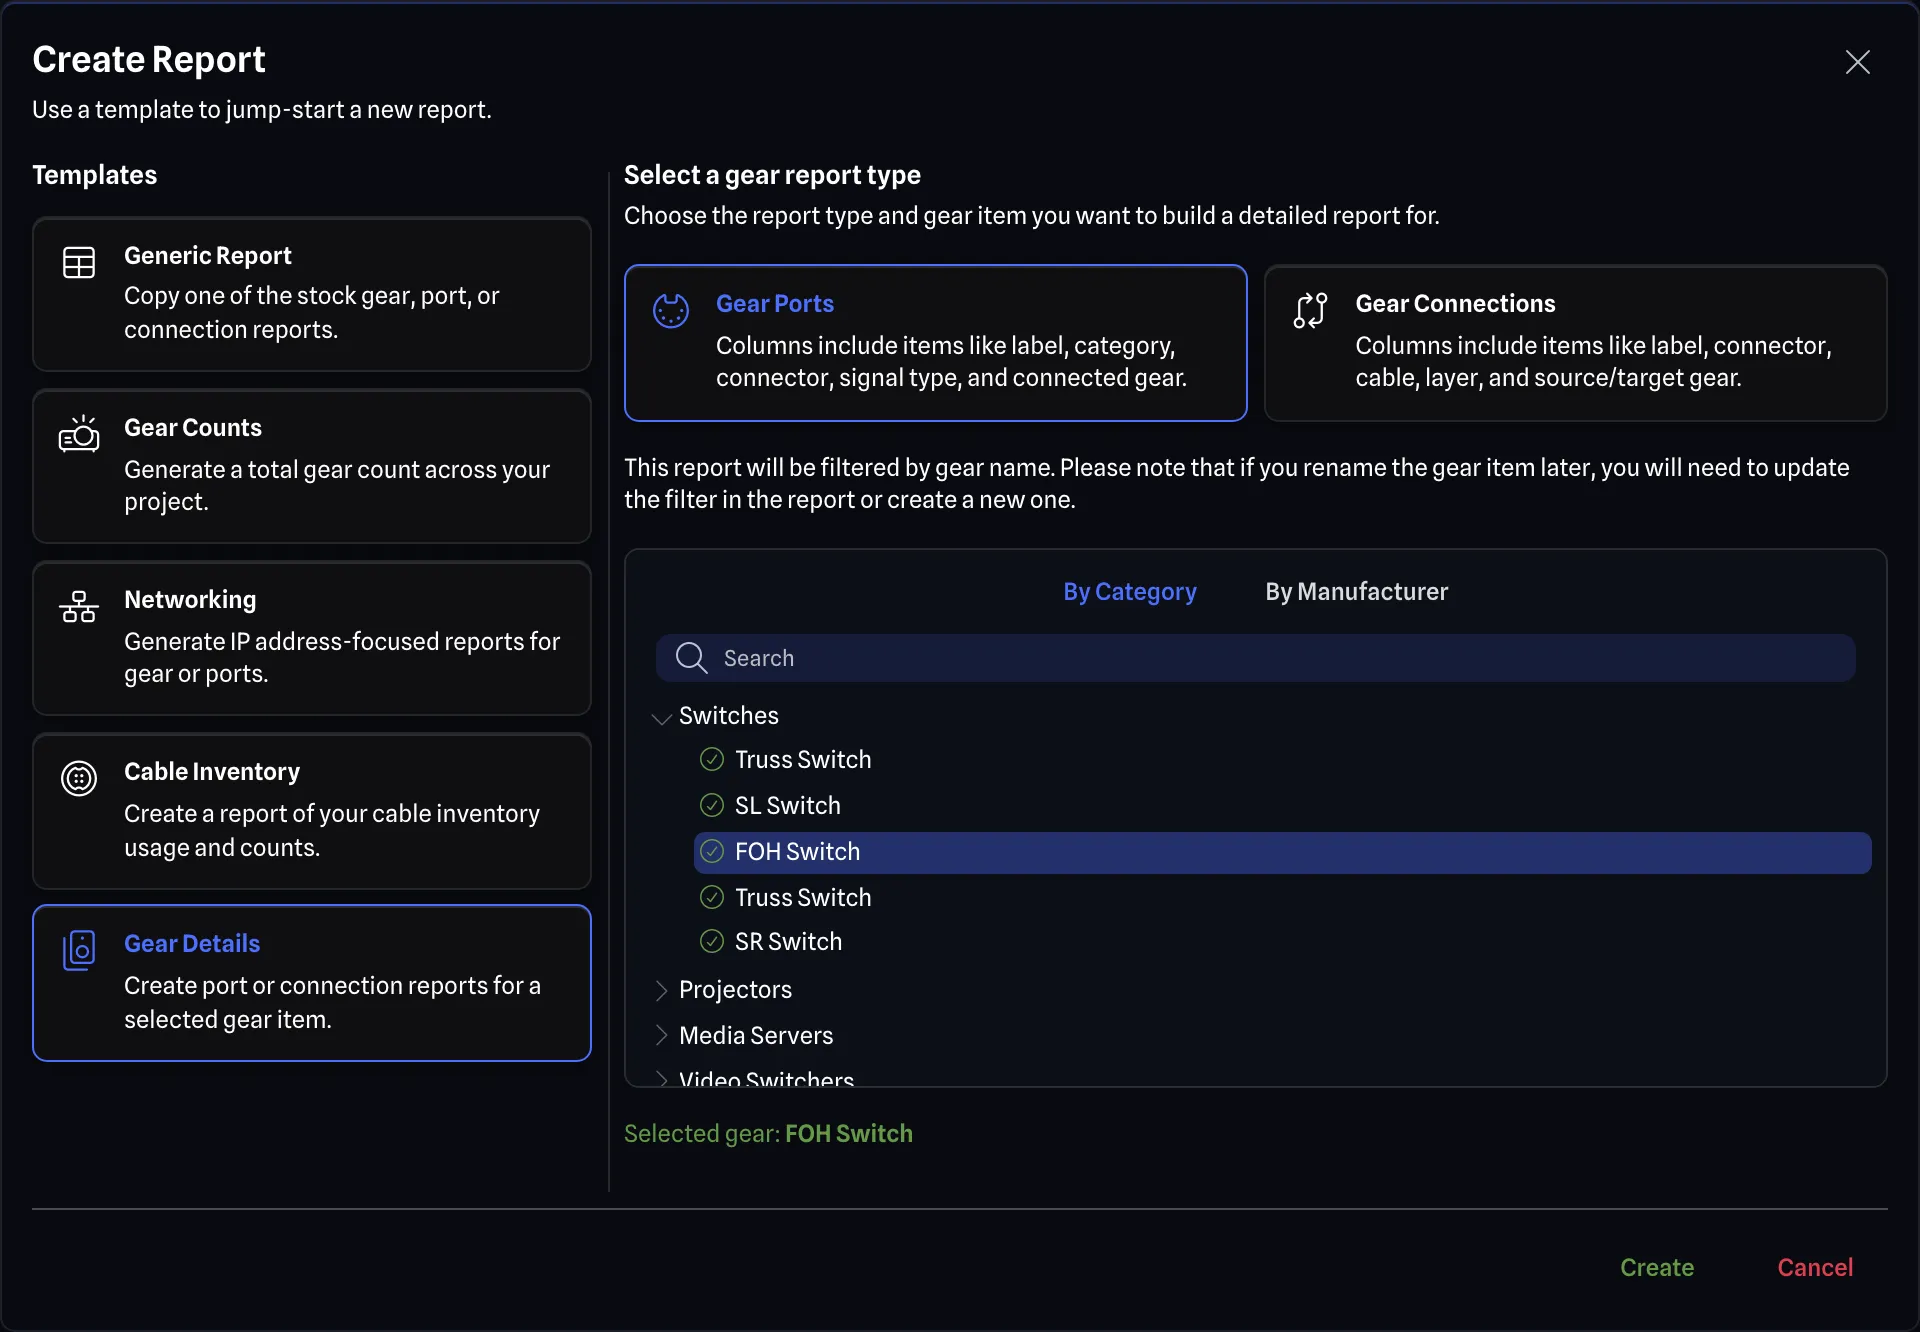
Create detailed reports for specific gear items in your project. These reports are filtered to only include ports or connections related to the selected gear item for the given report.
These reports are ideal for generating documentation for specific pieces of gear, or batch updating port or connection details for a specific piece of gear.
You must first select a gear item from the gear selector tree to create one of these reports. Please note that you can only generate these reports for gear currently used in the drawing.
You may also generate these reports by right clicking on a gear item in the drawing and selecting Port Report or Connection Report.
Available Options:
- Gear Details (Ports): Generate port reports for selected gear items:
- Default columns: Number, Label, Expansion Card, Category, Connector, Signal Type, Signal Flow, Connected Gear, Connected Port, Notes.
- Default grouping: Connector.
- Default sorting: None.
- Unique rows only: No.
- Gear Details (Connections): Generate connection reports for selected gear items:
- Default columns: Label, Connector, Cable, Use Port Colour, Use Layer Colour, Layer, Source Connected Gear, Source Connected Port, Target Connected Gear, Target Connected Port.
- Default grouping: Connector.
- Default sorting: None.
- Unique rows only: No.
Managing Custom Reports BETA APP
Section titled “Managing Custom Reports ”You can rename a custom report by right-clicking the report and selecting Rename from the context menu. You can also delete a custom report by right-clicking the report and selecting Delete, which is shown in red.
Stock reports have the same context menu with both entries disabled, as does every report while the project is locked.
Report URLs
Section titled “Report URLs”All reports (like everything in the app) have a unique code. You can navigate directly to a report by copying the URL on the report, allowing you to create bookmarks to quickly jump back to a specific report.
Example:
https://app.gearconnect.ca/project/<Project Code>/report/<Report Code>Stock reports will use their name instead of a code (e.g., ‘gear’, ‘ports’, and ‘connections’).