

Project Settings
The Project Settings Dialog is accessible from the Edit Menu when you have a project open.
These settings apply to the project you currently have open.
General
Section titled “General”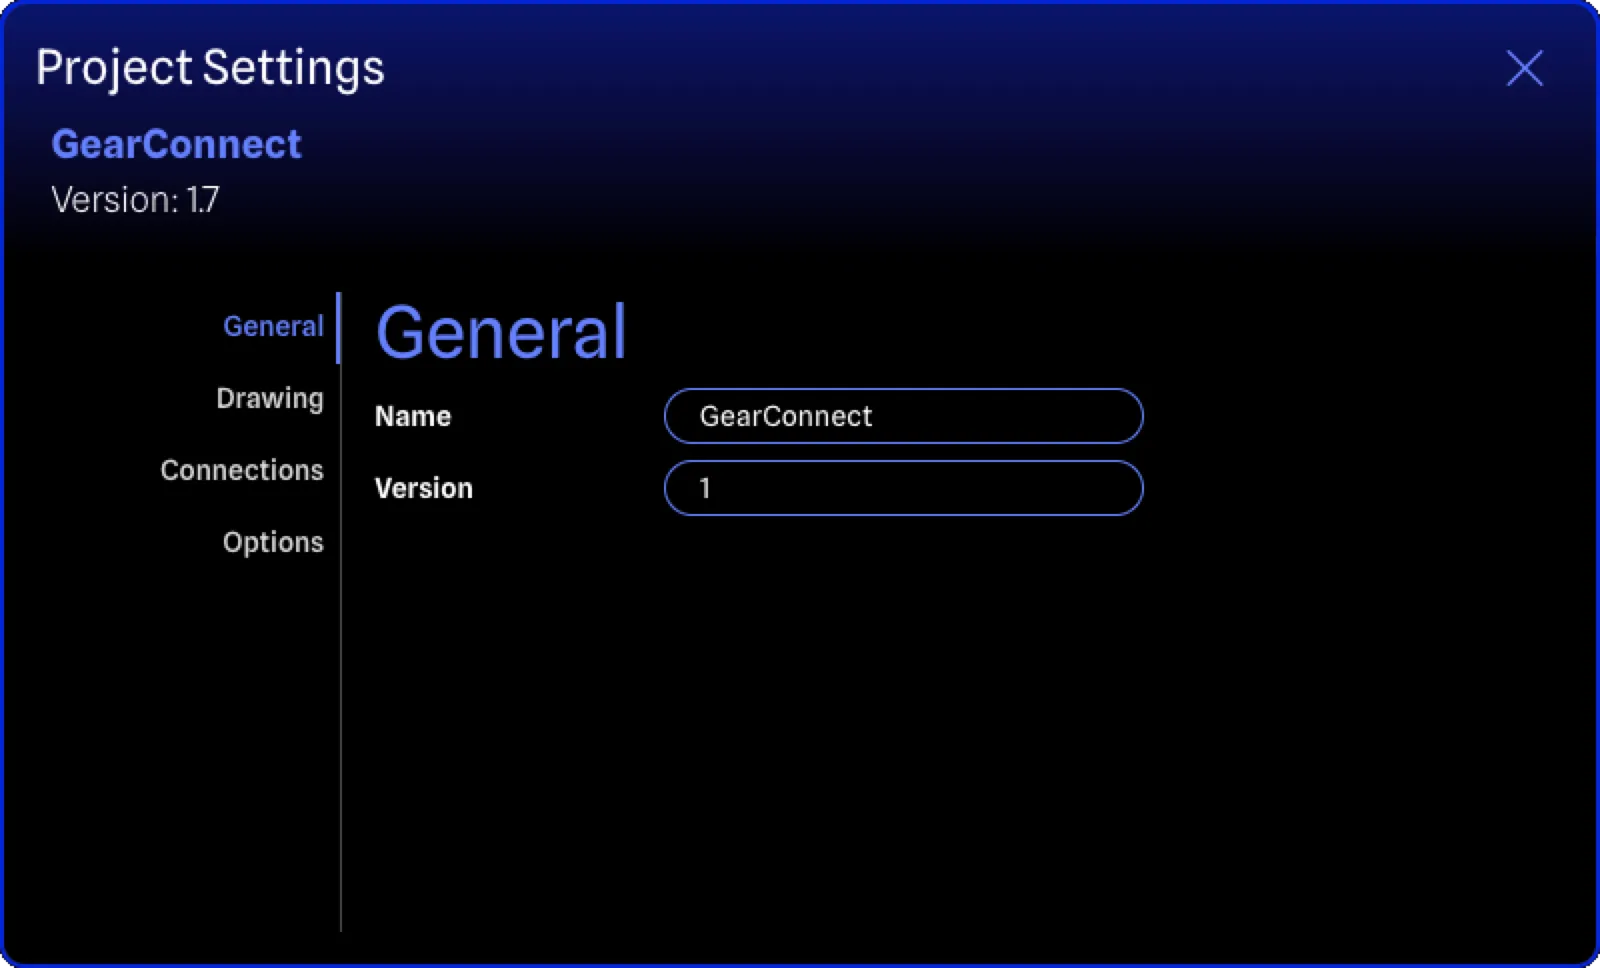
The name of the project. This is what you see in the project list and at the top of the app.
Version
Section titled “Version”The version of the project. This defaults to one and can be anything you like. It’s useful for keeping track of different versions of the same project, especially when coupled with Version History. This appears at the top of the app next to the name, as well as in various exports.
Drawing
Section titled “Drawing”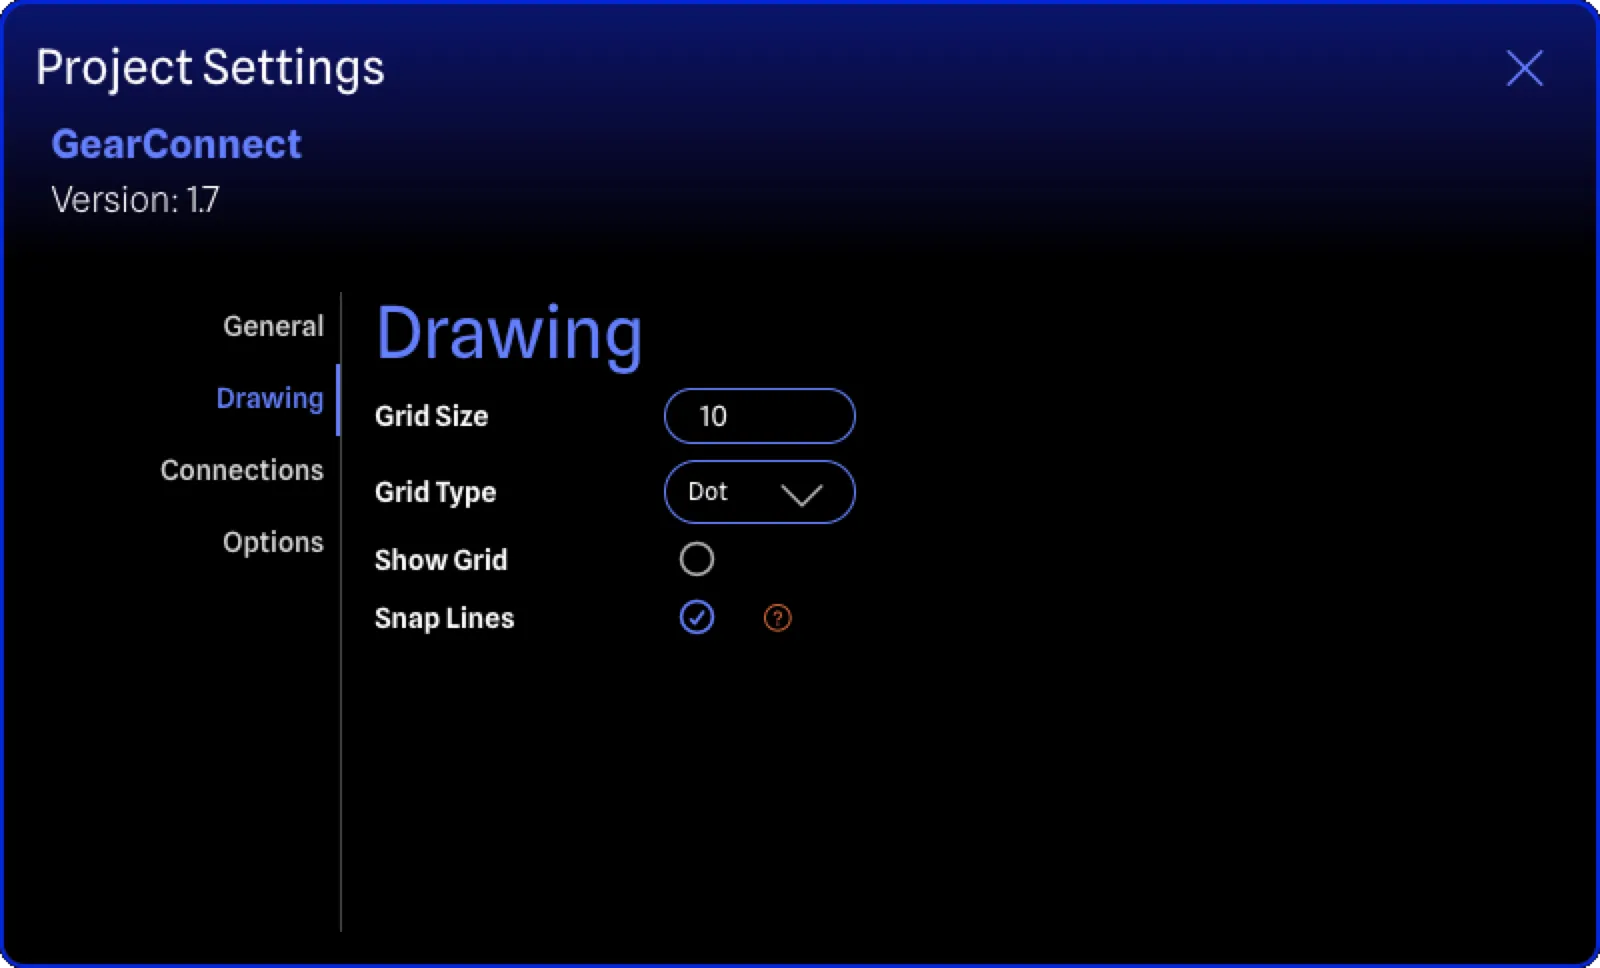
Grid Size
Section titled “Grid Size”You can change the grid size by changing the number in the Grid Size input box. This must be a number between 1 and 99. The grid size is used when moving gear items around the drawing, including connections, labels, and snap lines.
Grid Type
Section titled “Grid Type”You can choose between Dot (default) and Mesh grid types. The Dot grid type is a series of dots that make up the grid. The Mesh grid type is a series of lines that make up the grid.
Show Grid
Section titled “Show Grid”You can toggle the grid on and off from the checkmark.
Snap Lines
Section titled “Snap Lines”By default, snap lines are enabled to easily align gear items to other gear items. You can toggle snap lines on and off by clicking the Disable Snap Lines or Enable Snap Lines button.
Connections
Section titled “Connections”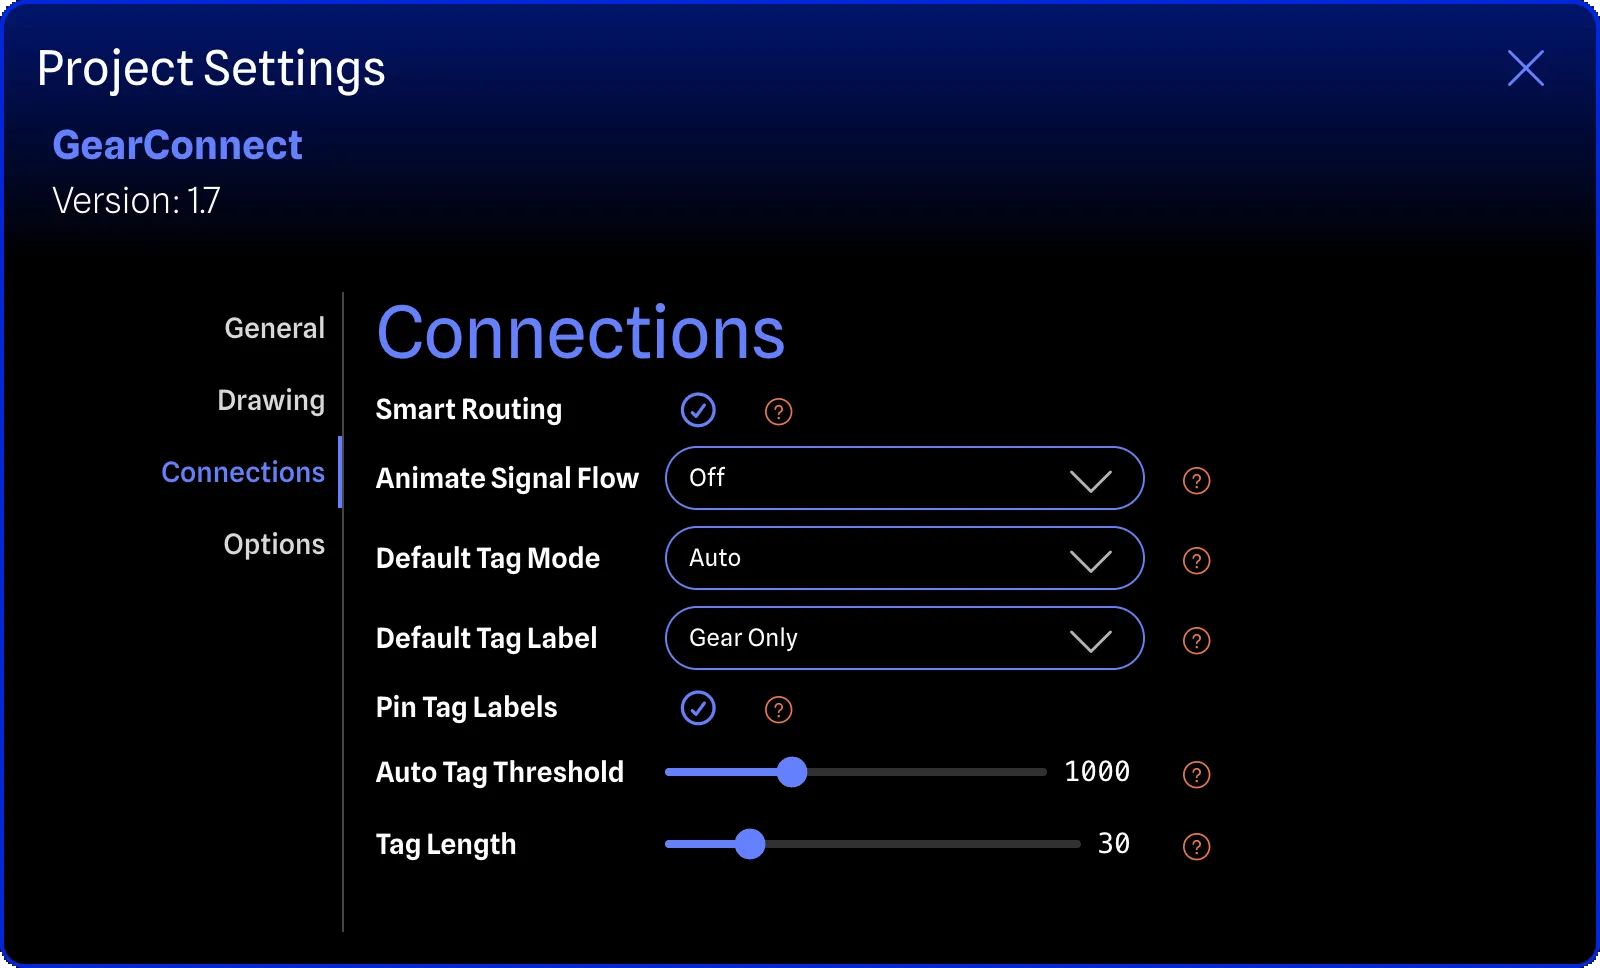
Smart Routing
Section titled “Smart Routing”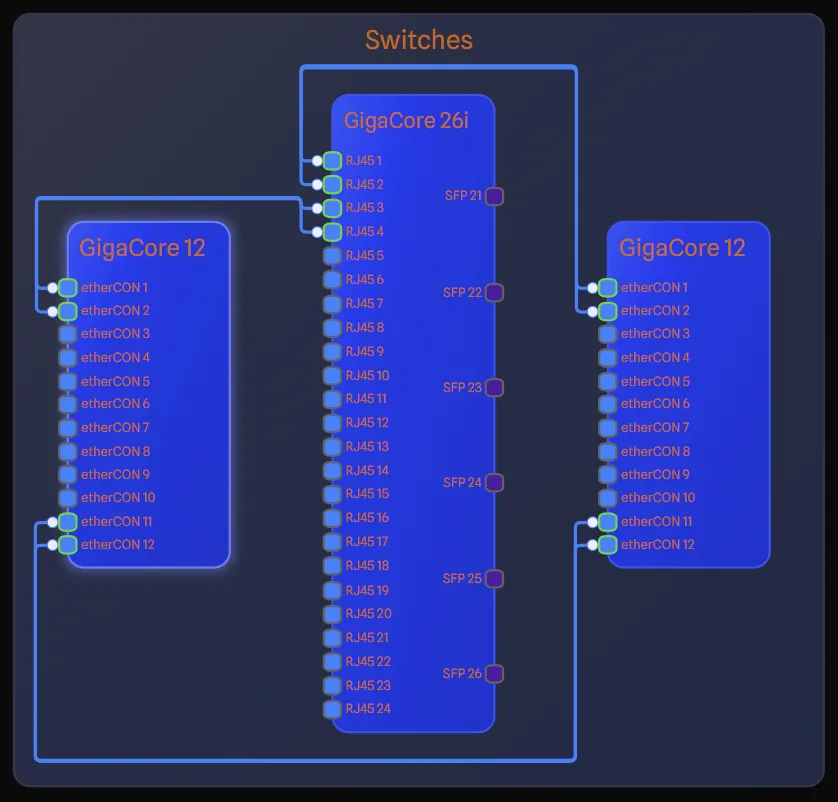
One of the unique features of GearConnect is the Smart Routing feature. In most drawing applications, you need to manually adjust connections and lines to avoid gear and obstacles. With Smart Routing, connections will automatically route around gear items and other obstacles.
There are times when smart routing cannot find a path, such as when gear items are too close together. In these times, the connection will fall back to a simple straight line. You can toggle Smart Routing on and off by clicking the Disable Smart Connection Routing or Enable Smart Connection Routing button in the Draw Toolbar.
Animate Signal Flow
Section titled “Animate Signal Flow”This setting controls the signal flow animation on directional connections. It has three modes:
- Off - No animation.
- Low - Animated dashes indicating flow direction, without a glow effect. Better for performance.
- High - Animated dashes with a glow effect. More visually pleasing but more demanding on the GPU and may cause performance issues on medium to large drawings.

The animation only appears on directional connections - where one end resolves to an input and the other to an output. Connections where both ends are bidirectional do not display the animation.
Default Tag Mode (Pro feature)
Section titled “Default Tag Mode ”Controls the tag preference assigned to newly created connections. See Connection Tags for full details.

- Force Off: The connection is shown as a full line.
- Force On: The connection is shown as two short stubs with navigation labels, regardless of distance.
- Auto: The connection switches between full line and stubs based on the distance between the connected gear. When the center-to-center distance exceeds the Auto Tag Threshold, it renders as stubs. Otherwise, it renders as a full line.
Default Tag Label (Pro feature)
Section titled “Default Tag Label ”Controls what text the tags of newly created connections display. See Tag Labels for full details.
- Gear Only (default): The tag shows the name of the gear on the other end of the connection.
- Gear and Port: The tag shows the gear name and the connected port label, separated by a dot
(for example,
FOH · RJ45 1). - Port Only: The tag shows only the connected port label (for example,
RJ45 1).
Pin Tag Labels (Pro feature)
Section titled “Pin Tag Labels ”When enabled (default), tag navigation labels are always visible on tagged connections. When disabled, labels only appear when hovering over the connection.
Auto Tag Threshold (Pro feature)
Section titled “Auto Tag Threshold ”The distance threshold (in pixels) used by connections set to Auto tag mode. When the center-to-center distance between the connected gear exceeds this value, the connection renders as stubs. The default is 1000 and the range is 0–3000.
Tag Length (Pro feature)
Section titled “Tag Length ”The minimum length (in pixels) of each tag stub. Higher values add more space between the port and the tag label. The default is 30 and the range is 12–100.
Options
Section titled “Options”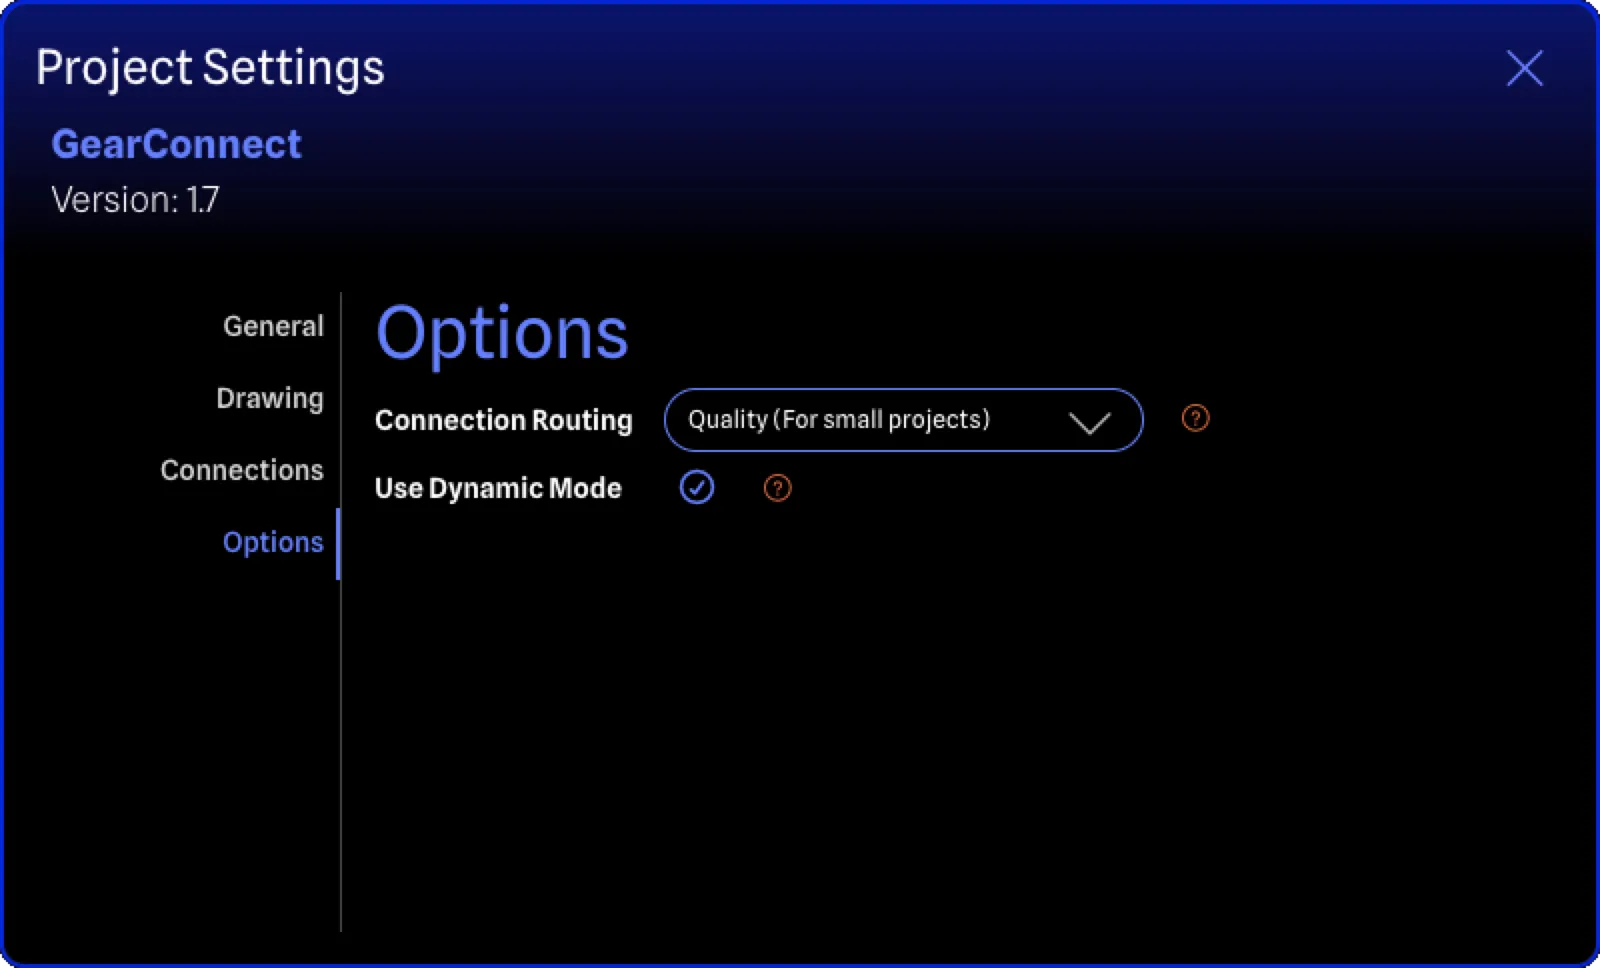
Connection Routing
Section titled “Connection Routing”When using Smart Routing, you can choose the quality of the routing. The higher the quality, the more times the routing algorithm will try to find the best path. The default is Quality, and is suitable for most projects. For complex projects, you may want to lower the quality.
When a route cannot be determined, it will simply fall back to a straight line that you can customize like normal.
The options are:
- Unusable (Are you sure?) – 12,000 iterations
- Quality (For small projects) – 8,000 iterations – Default
- Balanced (For medium projects) – 2,000 iterations
- Performance (For large projects) – 500 iterations
- Potato (For massive projects) – 100 iterations
Use Dynamic Mode
Section titled “Use Dynamic Mode”This is a fallback feature when there is no recent Version History accessible, and your project is large. In most situations, this feature will not be activated but you can disable it if you like, as it is enabled by default.
When enabled the entire project will not be loaded by default when the project is opened, and instead it will only load enough information to display the drawing and some initial data. As you interact with the drawing and project, the missing data will be loaded in the background. You may notice a slight delay when interacting with the drawing as data loads.
You can download the entire project (essentially exiting Dynamic Mode) by clicking the In Dynamic Mode - Click to download the full project yellow cloud button at the top right of the app. This button only appears when Dynamic Mode is enabled.
When in Dynamic Mode, certain actions are restricted like editing reports, Version History, and exporting the project. Downloading the full project will allow you to do these actions.