Selection Toolbar
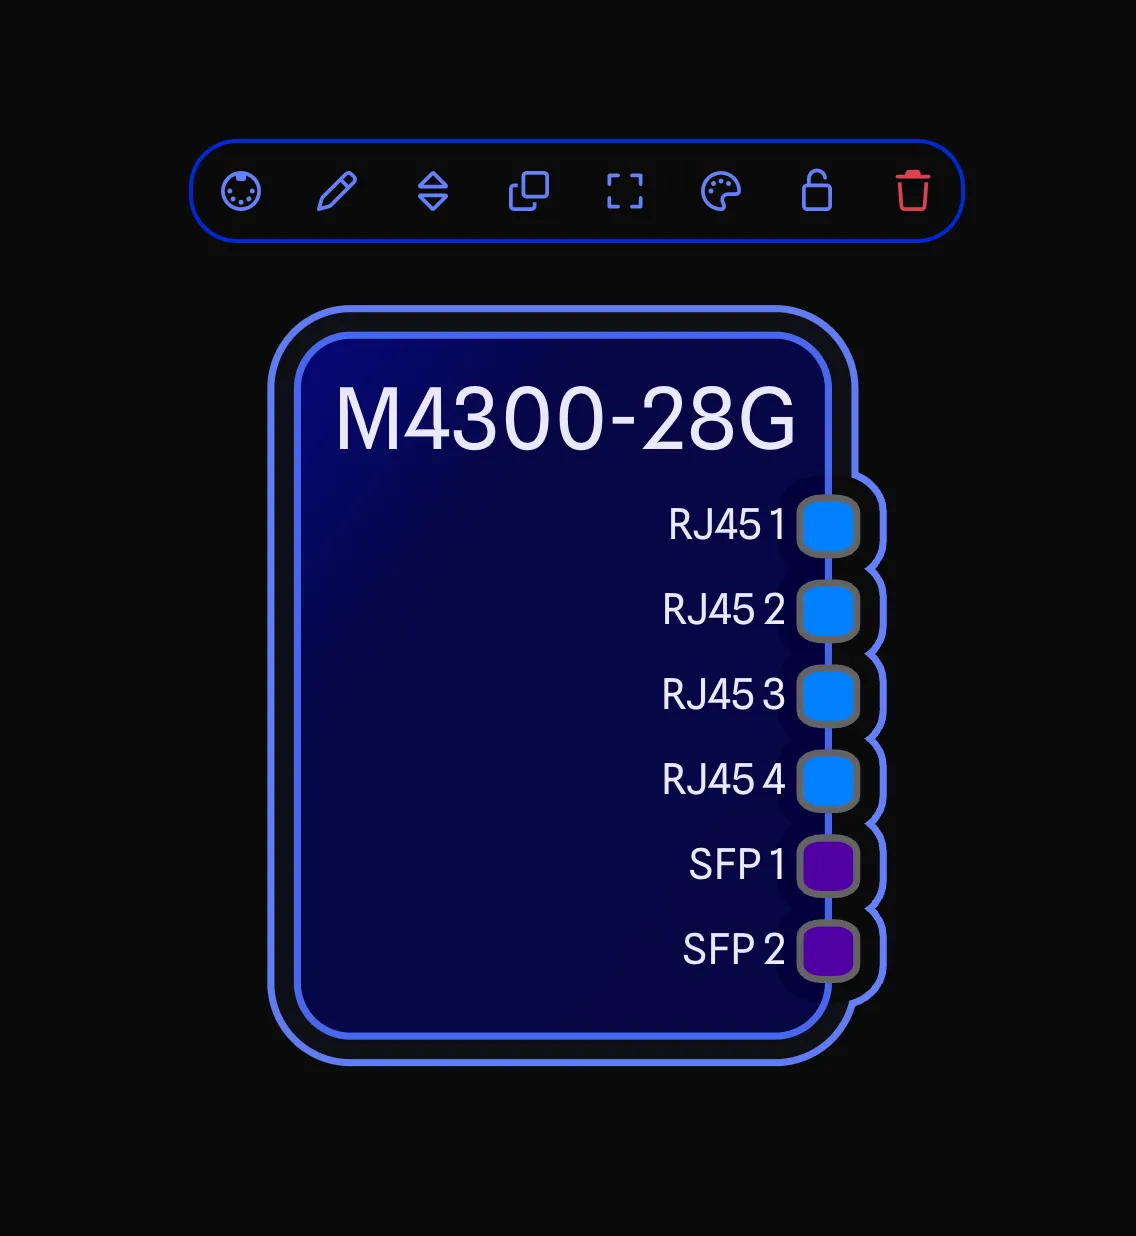
The Selection Toolbar appears when you select items on the drawing. It provides quick access to common actions for the selected items. The toolbar adapts its available actions based on whether you have a single item or multiple items selected.

The toolbar positions itself near the selected item(s). If the selection is off-screen or zoomed in such that there isn’t room, the toolbar anchors just below the Draw Toolbar instead.
Selecting Items
Single Selection
To select an item on the drawing, click on it. The item will receive a coloured highlight outline and the Selection Toolbar will appear near it. Gear can also be selected by clicking on it in the My Gear Pane.
Multi-Selection
To select multiple items, you can either:
- Hold
Shiftand click on additional items to add or remove them from the selection. - Click and drag on an empty area to create a selection box.
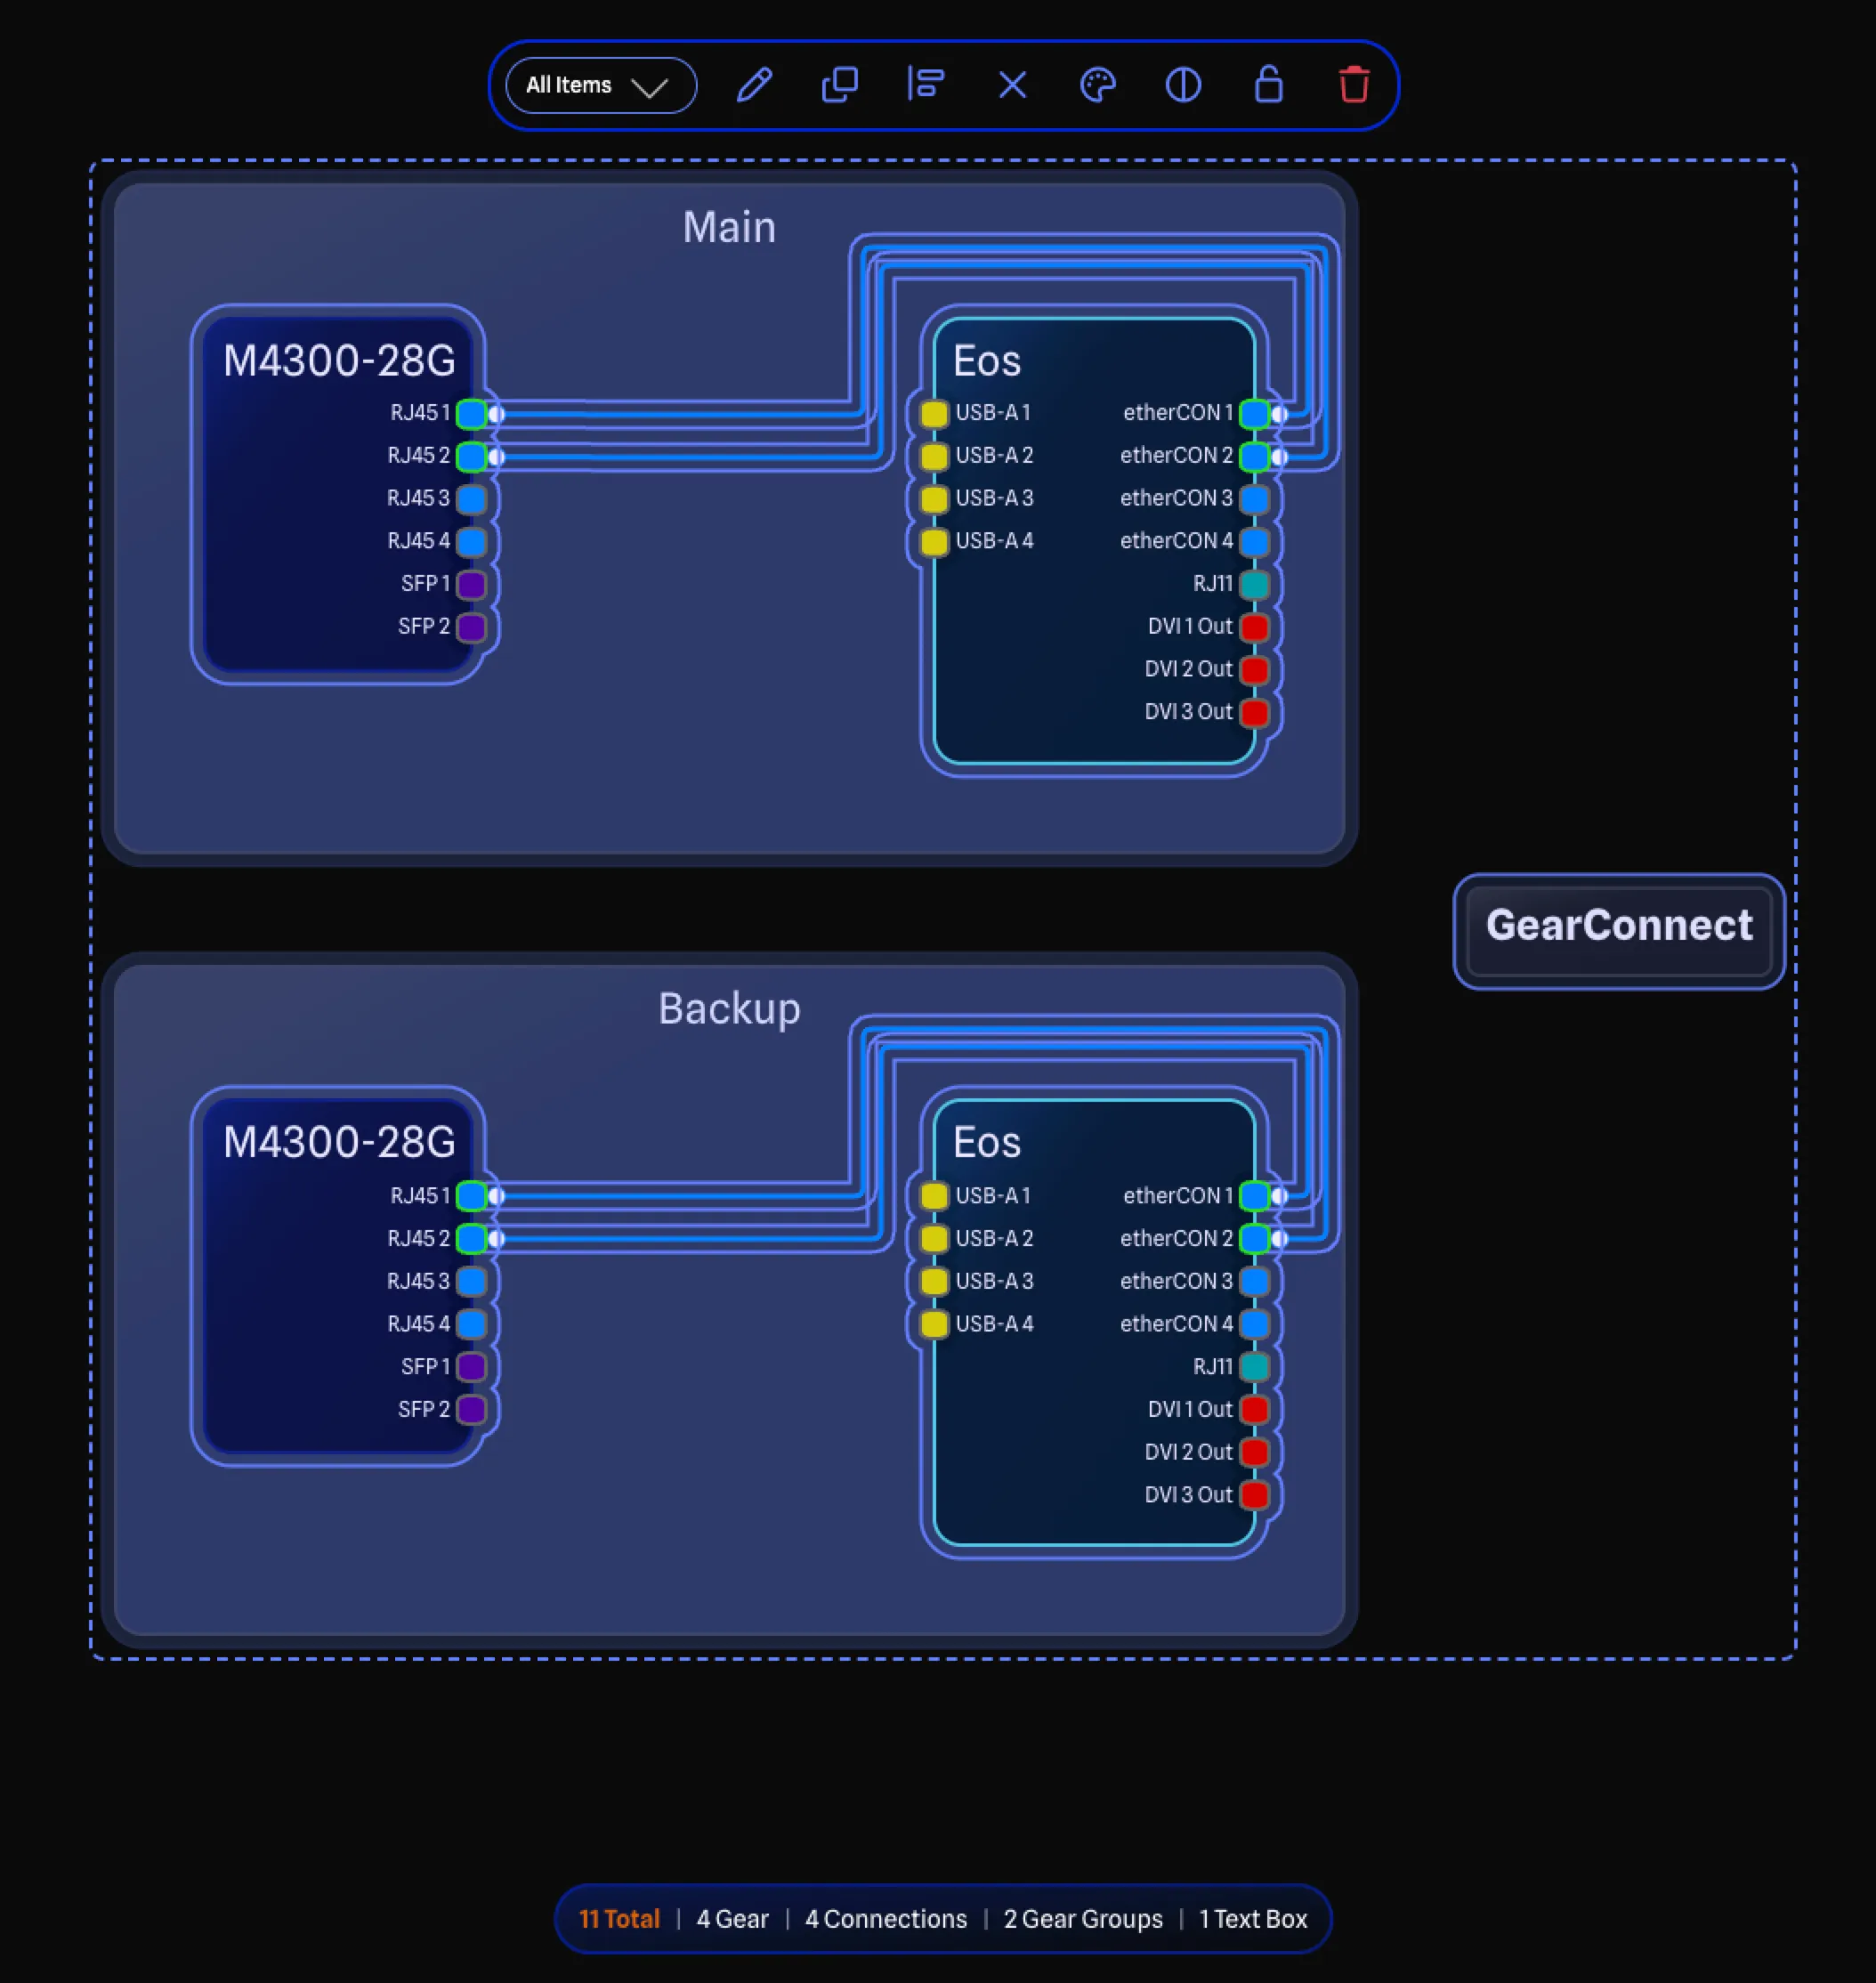
When multiple items are selected, a dashed rectangle appears around the entire selection area. Each item receives a coloured highlight outline - selected items are highlighted in blue, locked items in red, and filtered items in orange. You can drag to move all selected items together.
Drag Selection Modes
Drag selection uses two different modes depending on the direction you drag:
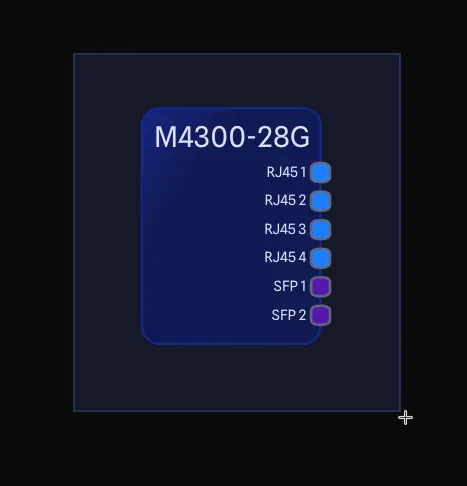
- Left-to-right - Only items fully enclosed by the selection box are selected (blue, solid border).
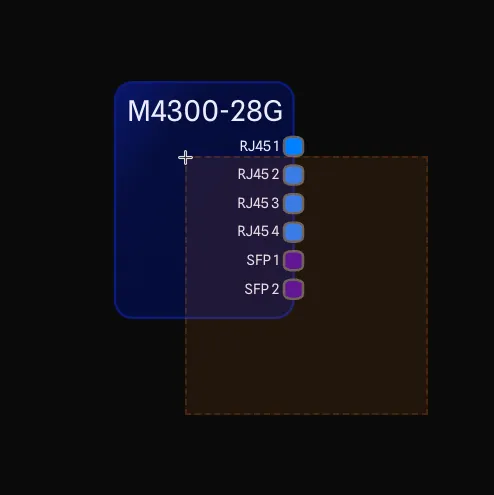
- Right-to-left - Any items that touch the selection box are selected (orange, dashed border).
Selection Types
Anything in the drawing can be selected, including:
- Gear - Any gear item on your drawing.
- Connections - The lines connecting ports between gear.
- Gear Groups - Visual groupings of gear items.
- Text Boxes - Text annotations on your drawing.
Selection Actions
The Selection Toolbar provides different actions depending on what type of item(s) you have selected.
- 🔵 Single selection only
- 🟢 Single and multi-selection
- 🟠 Multi-selection only
- ❌ Not available
| Action | Gear | Connections | Groups | Text |
|---|---|---|---|---|
| Edit Text | ❌ | ❌ | ❌ | 🔵 |
| View Ports | 🔵 | ❌ | ❌ | ❌ |
| Reorder Ports | 🔵 | ❌ | ❌ | ❌ |
| Edit Label | 🟢 | 🟢 | 🟢 | ❌ |
| Duplicate | 🟢 | ❌* | 🟢 | 🟢 |
| Align Items | 🟠 | ❌ | 🟠 | 🟠 |
| Resize | 🔵 | ❌ | 🔵 | 🔵 |
| Reset Auto Size | ❌ | ❌ | 🟢 | ❌ |
| Bulk Create | ❌ | 🔵 | ❌ | ❌ |
| Edit Nodes | ❌ | 🔵 | ❌ | ❌ |
| Remove All Nodes | ❌ | 🟢 | ❌ | ❌ |
| Edit Colours | 🟢 | 🟢 | 🟢 | 🟢 |
| Edit Opacity | ❌ | ❌ | ❌ | 🟢 |
| Lock/Unlock | 🟢 | ❌ | 🟢 | 🟢 |
| Remove | 🟢 | 🟢 | 🟢 | 🟢 |
*Connections cannot be duplicated on their own, but if a connection is selected along with its source and target gear, the connection will be duplicated too.
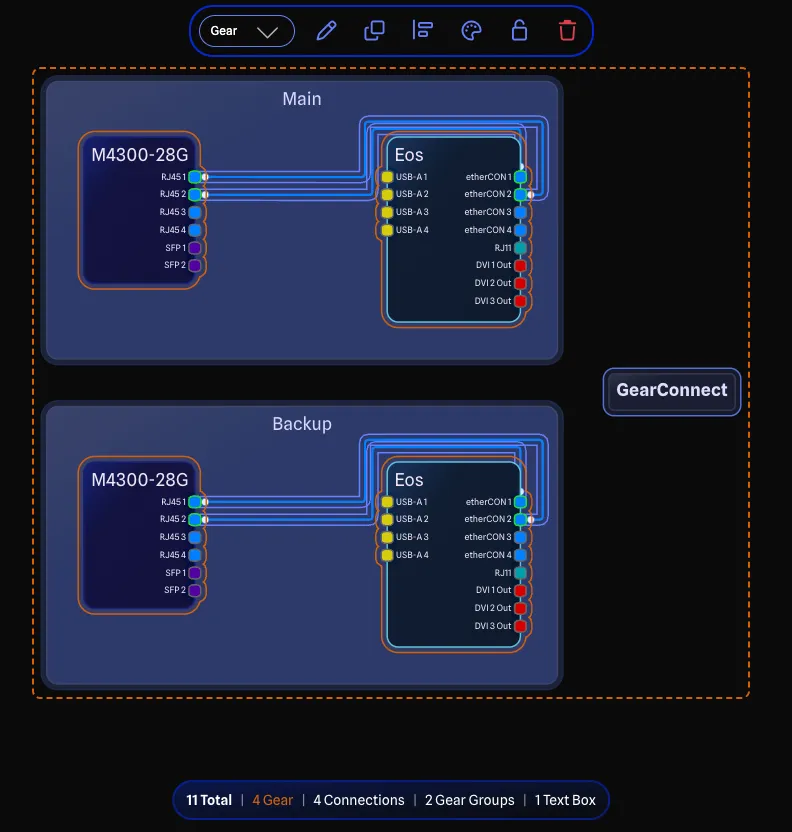
Selection Summary Bar
When multiple items are selected, the Selection Summary Bar appears at the bottom of the screen showing counts for each type in your selection.

The bar displays the total count and individual counts for each type present in the selection (Gear, Connections, Gear Groups, and Text Boxes). Click on any count to filter the selection to that type. The currently active filter is highlighted in orange.
Selection Filtering
When you have multiple items of different types selected (e.g., gear and gear groups), you can filter the selection to apply actions to only specific types.
The Selection Toolbar shows a dropdown at the start that allows you to filter by type:
- All Items - All selected items (default).
- Gear - Only gear items.
- Connections - Only connections.
- Gear Groups - Only gear groups.
- Text Boxes - Only text boxes.
You can also filter by clicking on the counts in the Selection Summary Bar.
When a filter is active, the filtered items are highlighted with an orange highlight to distinguish them from the rest of the selection. Actions from the Selection Toolbar will only apply to the highlighted items.
Reorder Ports BETA APP
When a single gear item is selected, the Reorder Ports button enters a drag-and-drop mode where you can rearrange port groups directly on the drawing. This is only available on unlocked gear and requires Local Mode.
Press Escape or click on an empty area of the drawing to exit the mode.
See Reorder Ports on Drawing for full details.
Alignment Menu
The Alignment Menu provides tools to align and distribute multiple selected items.
See Alignment and Distribution for more information.
Auto-Numbering
When bulk editing labels on multiple items, the Auto-Numbering feature allows you to automatically add sequential numbers to each label.
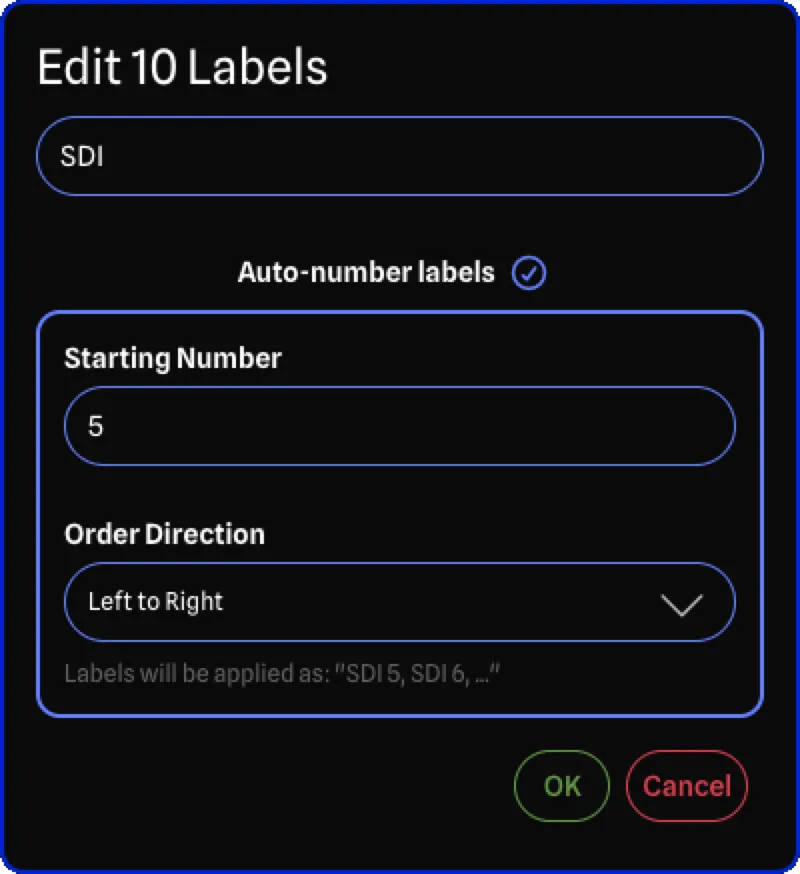
How It Works
- Enable the Auto-number labels checkbox in the Bulk Edit Labels Dialog.
- Enter a Starting Number for the sequence.
- Choose an Order Direction to determine which item gets which number:
- Left to Right - Numbers items from left to right across the drawing.
- Right to Left - Numbers items from right to left.
- Top to Bottom - Numbers items from top to bottom.
- Bottom to Top - Numbers items from bottom to top.
- Selection Order - Numbers items in the order they were selected.
Label Format
When auto-numbering is enabled:
- If you enter a label text (e.g., “Speaker”), items are labeled as “Speaker 1”, “Speaker 2”, etc.
- If you leave the label empty, items are labeled with just the number: “1”, “2”, “3”, etc.